April 02, 2024
Build Applications at the Edge with Prisma ORM & Cloudflare D1 (Preview)

Cloudflare has been pioneering the edge computing landscape since the introduction of Workers in 2017. With D1, Cloudflare recently released a native serverless database. We’re excited to announce that you can now talk to D1 using Prisma ORM!
Bringing your database to the edge with D1
Edge functions, such as Cloudflare Workers, are a form of lightweight serverless compute that's distributed across the globe. They allow you to deploy and run your apps as closely as possible to your end users.
D1 is Cloudflare's native serverless database for edge environments. It's based on SQLite and can be used when deploying applications with Cloudflare. D1 was initially launched in 2022.
You don't need to specify where a Cloudflare Worker or a D1 database runs—they simply run everywhere they need to.
Following Cloudflare's principles of geographic distribution and bringing compute and data closer to application users, D1 supports automatic read-replication: It dynamically manages the number of database instances and locations of read-only replicas based on how many queries a database is getting, and from where.
This means that read-queries are executed against the D1 instance that's closest to the location from where the query was issued.
While you can use read replicas using Prisma ORM with other database providers as well, this typically requires you to use the Read Replica Client extension. When using D1, read replicas are supported out-of-the-box without the need for a dedicated Client extension.
For write-operations, on the other hand, queries still travel to a single primary instance in order to propagate the changes to all read-replicas and ensure data consistency.
Prisma ORM now supports D1 🚀 (Preview)
At Prisma, we believe that Cloudflare is at the forefront of building the future of how applications are being built and deployed.
You can learn more about how we think about Cloudflare as a partner in improving Data DX in this blog post: Developer Experience Redefined: Prisma & Cloudflare Lead the Way to Data DX
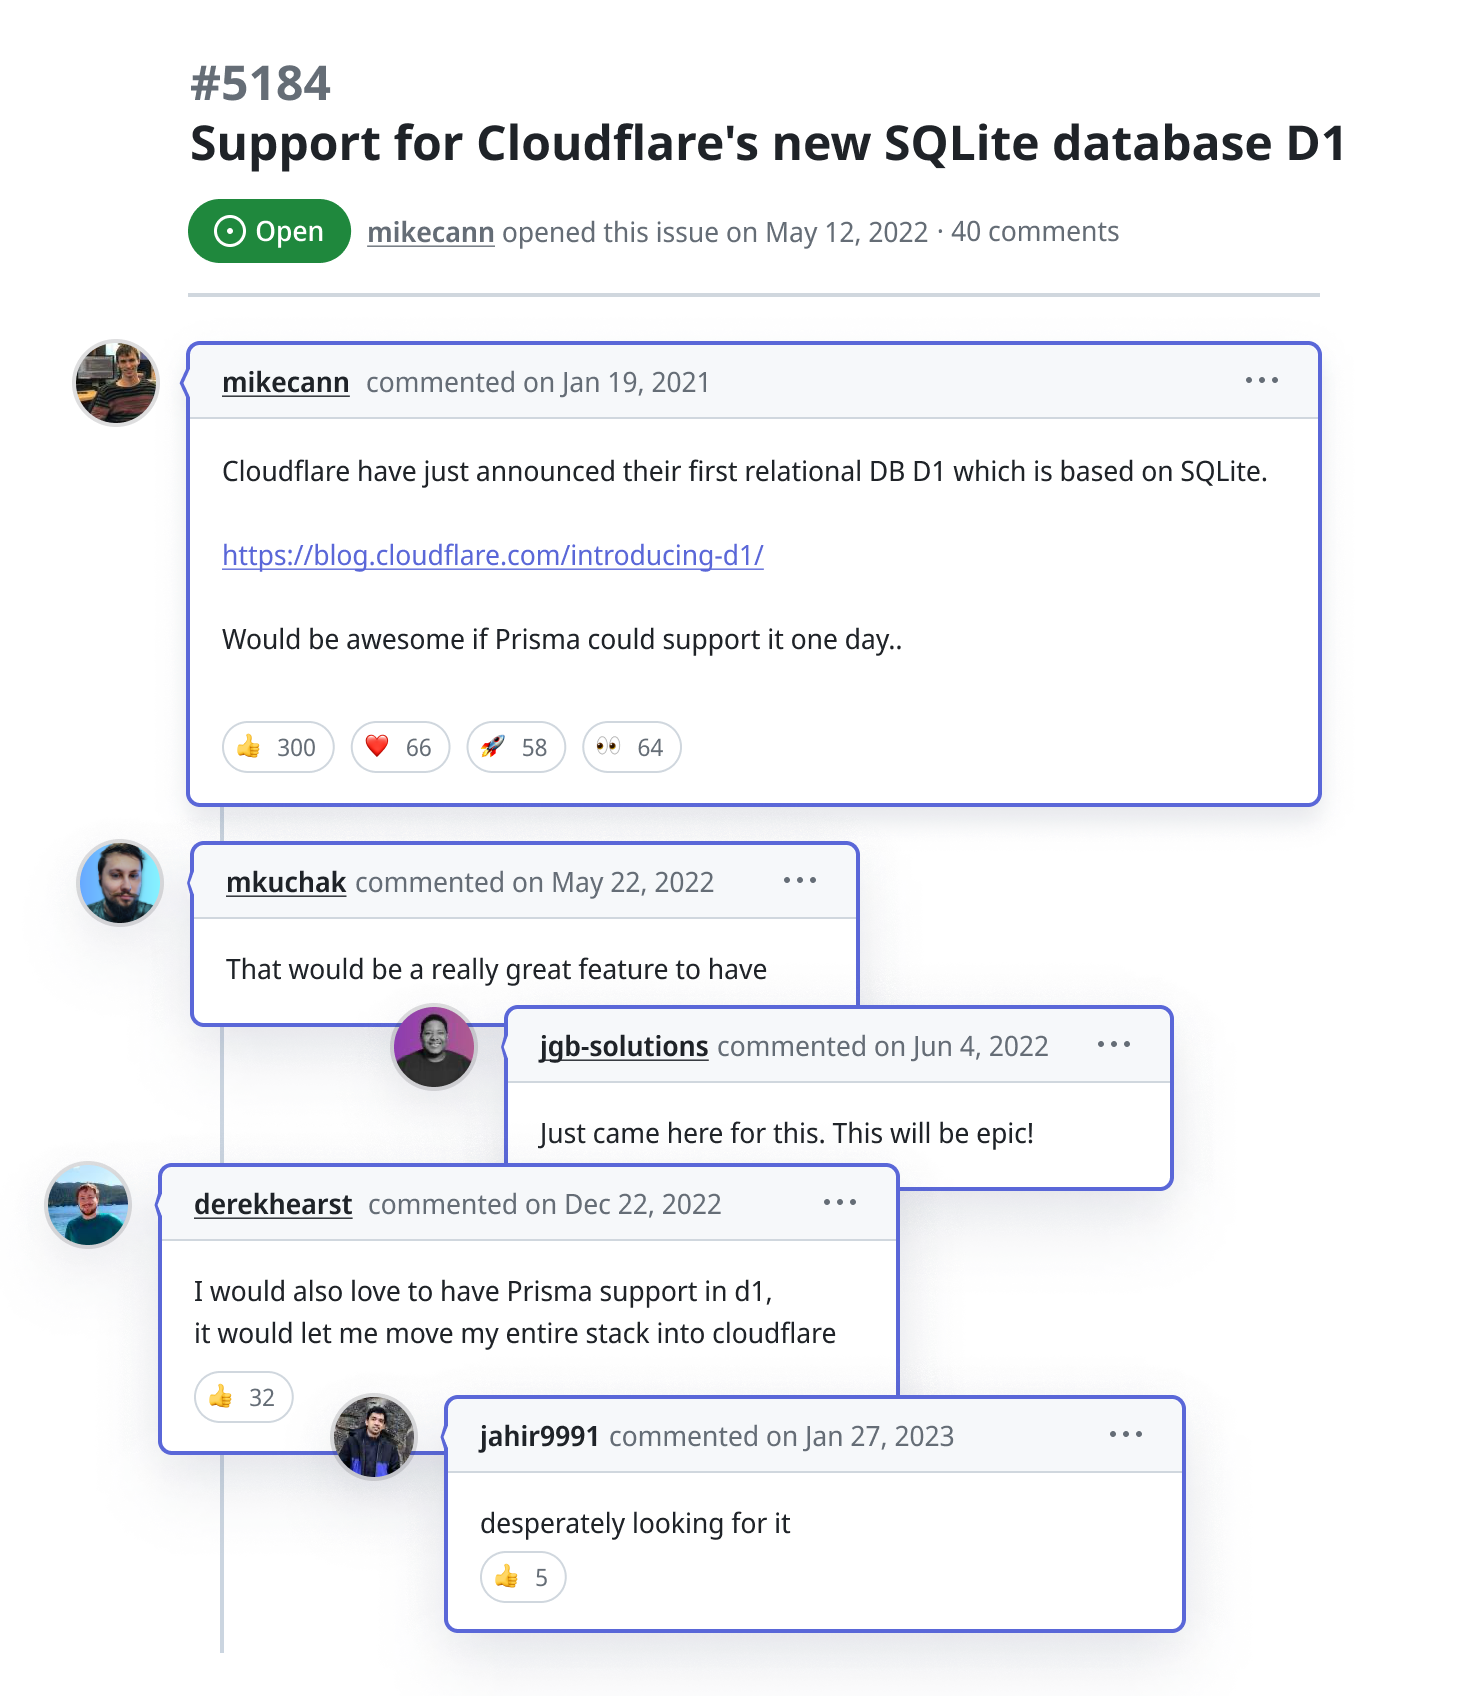
Supporting D1 has been one of the most popular feature requests for Prisma ORM on GitHub.
As a strong believer in Cloudflare as a technology provider, we're thrilled to share that you can now use Prisma ORM inside Cloudflare Workers (and Pages) to access a D1 database.
Note that this feature is based on driver adapters which are currently in Preview, we therefore consider D1 support to be in Preview as well.
Getting started with Prisma ORM & D1
In the following, you'll find step-by-step instructions to set up and deploy a Cloudflare Worker with a D1 database that's accessed via Prisma ORM entirely from scratch.
As of this release, Prisma Migrate is not yet fully compatible with D1. In the tutorial, you'll use D1's migration system in combination with the
prisma migrate diffcommand to generate and run migrations.
Prerequisites
- Node.js and npm installed on your machine
- A Cloudflare account
1. Create a Cloudflare Worker
As a first step, go ahead and use npm create to bootstrap a plain version of a Cloudflare Worker (using Cloudflare's hello-world template). Run the following command in your terminal:
This will bring up a CLI wizard. Select all the default options by hitting Return every time a question appears.
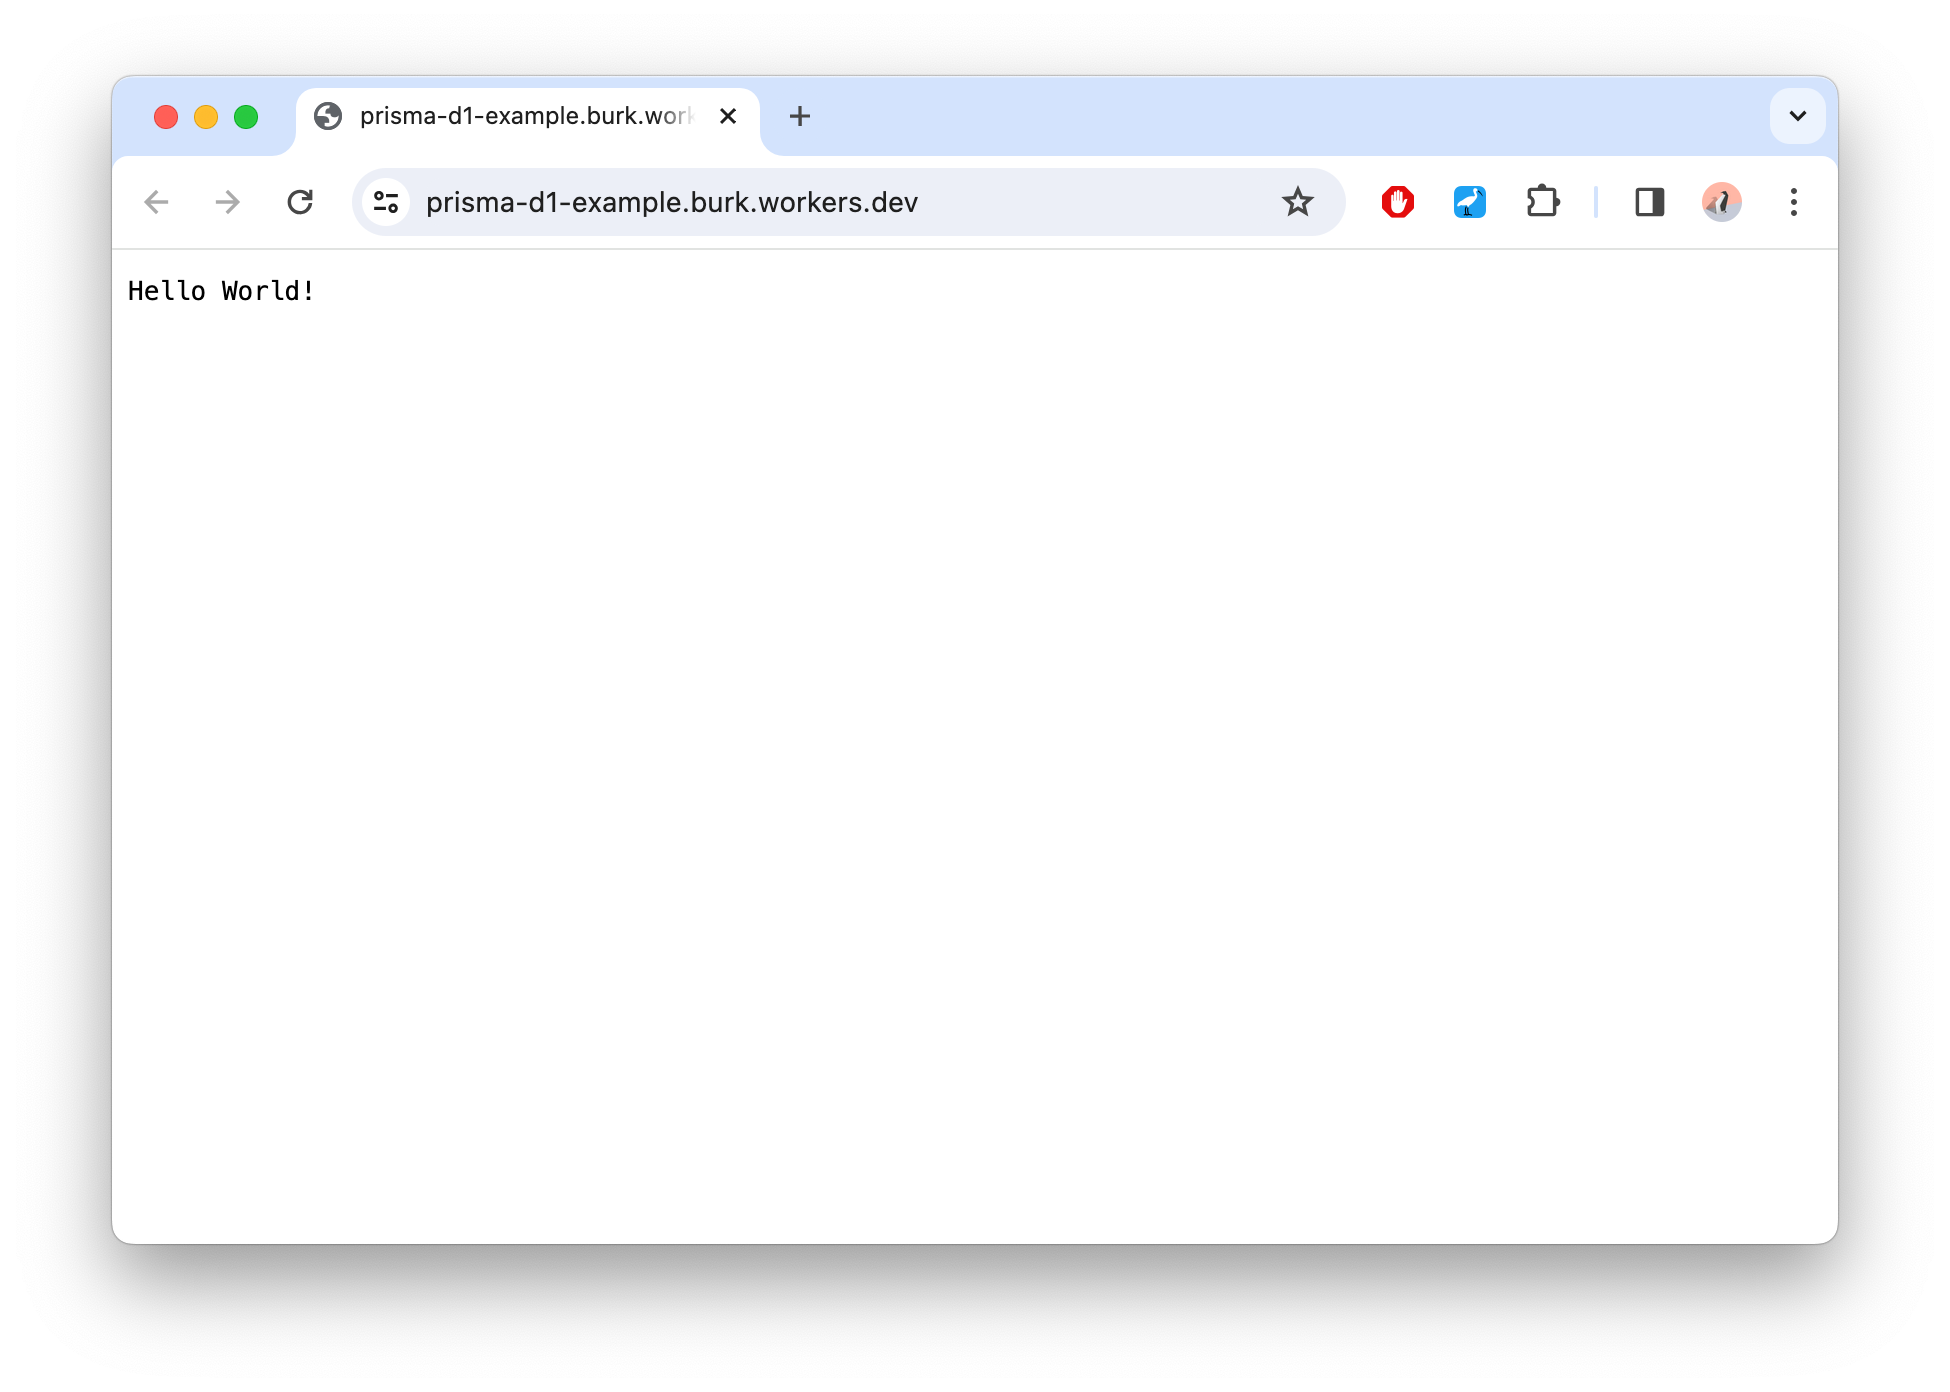
At the end of the wizard, you should have a deployed Cloudflare Worker at the domain https://prisma-d1-example.USERNAME.workers.dev which simply renders "Hello World" in the browser:
2. Initialize Prisma ORM
With your Worker in place, let's go ahead and set up Prisma ORM.
First, navigate into the project directory and install the Prisma CLI:
Next, install the Prisma Client package as well as the driver adapter for D1:
Finally, bootstrap the files required by Prisma ORM using the following command:
This command did two things:
- It created a new directory called
prismathat contains your Prisma schema file. - It created a
.envfile which is typically used to configure environment variables that will be read by the Prisma CLI.
In this tutorial, you won't need the .env file since the connection between Prisma ORM and D1 will happen through a binding. You'll find instructions for setting up this binding in the next step.
Since you'll be using the driver adapter feature which is currently in Preview, you need to explicitly enable it via the previewFeatures field on the generator block.
Open your schema.prisma file and adjust the generator block to look as follows:
3. Create D1 database
In this step, you'll set up your D1 database. There generally are two approaches to this. Either using the Cloudflare Dashboard UI or via the wrangler CLI. You'll use the CLI in this tutorial.
Open your terminal and run the following command:
If everything went well, you should see an output similar to this:
You now have a D1 database in your Cloudflare account with a binding to your Cloudflare Worker.
Copy the last part of the command output and paste it into your wrangler.toml file. It should look similar to this:
Note that __YOUR_D1_DATABASE_ID__ in the snippet above is a placeholder that should be replaced with the database ID of your own D1 instance. If you weren't able to grab this ID from the terminal output, you can also find it in the Cloudflare Dashboard or by running npx wrangler d1 info prisma-demo-db in your terminal.
Next, you'll create a database table in the database in order to be able to send some queries to D1 using Prisma ORM.
4. Create a table in the database
D1 comes with its own migration system via the wrangler d1 migrate commands. This migration system plays nicely together with the Prisma CLI which provides tools that allow you to generate SQL statements for schema changes. So you can:
- use D1's native migration system to create and apply migration files to your D1 instance
- use the Prisma CLI to generate the SQL statements for any schema changes
In the following, you'll use both D1's migration system and the Prisma CLI to create and run a migration against your database.
First, create a new migration using the wrangler CLI:
When prompted if the command can create a new folder called migrations, hit Return to confirm.
The command has now created a new directory called migrations and an empty file called 0001_create_user_table.sql inside of it:
Next, you need to add the SQL statement that will create a User table to that file. Open the schema.prisma file and add the following User model to it:
Now, run the following command in your terminal to generate the SQL statement that creates a User table equivalent to the User model above:
This stores a SQL statement to create a new User table in your migration file migrations/0001_ceate_user_table.sql from before, here is what it looks like:
You now need to use the wrangler d1 migrations apply command to send this SQL statement to D1. This command accepts two options:
--local: Executes the statement against a local version of D1. This local version of D1 is a SQLite database file that'll be located in the.wrangler/statedirectory of your project. This approach is useful, when you want to develop and test your Worker on your local machine. Learn more in the Cloudflare docs.--remote: Executes the statement against your remote version of D1. This version is used by your deployed Cloudflare Workers. Learn more in the Cloudflare docs.
In this tutorial, you’ll do both: test the Worker locally and deploy it afterwards. So, you need to run both commands. Open your terminal and paste the following commands.
First, execute the schema changes against your local database:
Next, against the remote database:
Hit Return both times when you're prompted to confirm that the migration should be applied.
Both your local and remote D1 instances now contain User table.
Let’s also create some dummy data that we can query once the Worker is running. This time, you’ll run the SQL statement without storing it in a file.
Again, run the command against your local database first:
Finally, run it against your remote database:
You now have a dummy record in both your local and remote database instances. You can find the local SQLite file in .wrangler/state while the remote one can be inspected in your Cloudflare Dashboard.
5. Query your database from the Worker
In order to query your database from the Worker using Prisma ORM, you need to:
- Add
DBto theEnvinterface. - Instantiate
PrismaClientusing thePrismaD1driver adapter. - Send a query using Prisma Client and return the result.
Open src/index.ts and replace the entire content with the following:
Before running the Worker, you need to generate Prisma Client with the following command:
6. Run the Worker locally
With the database query in place and Prisma Client generated, you can go ahead and run the Worker locally:
Now you can open your browser at http://localhost:8787 to see the result of the database query:
7. Deploy the Worker
To deploy the Worker, run the the following command:
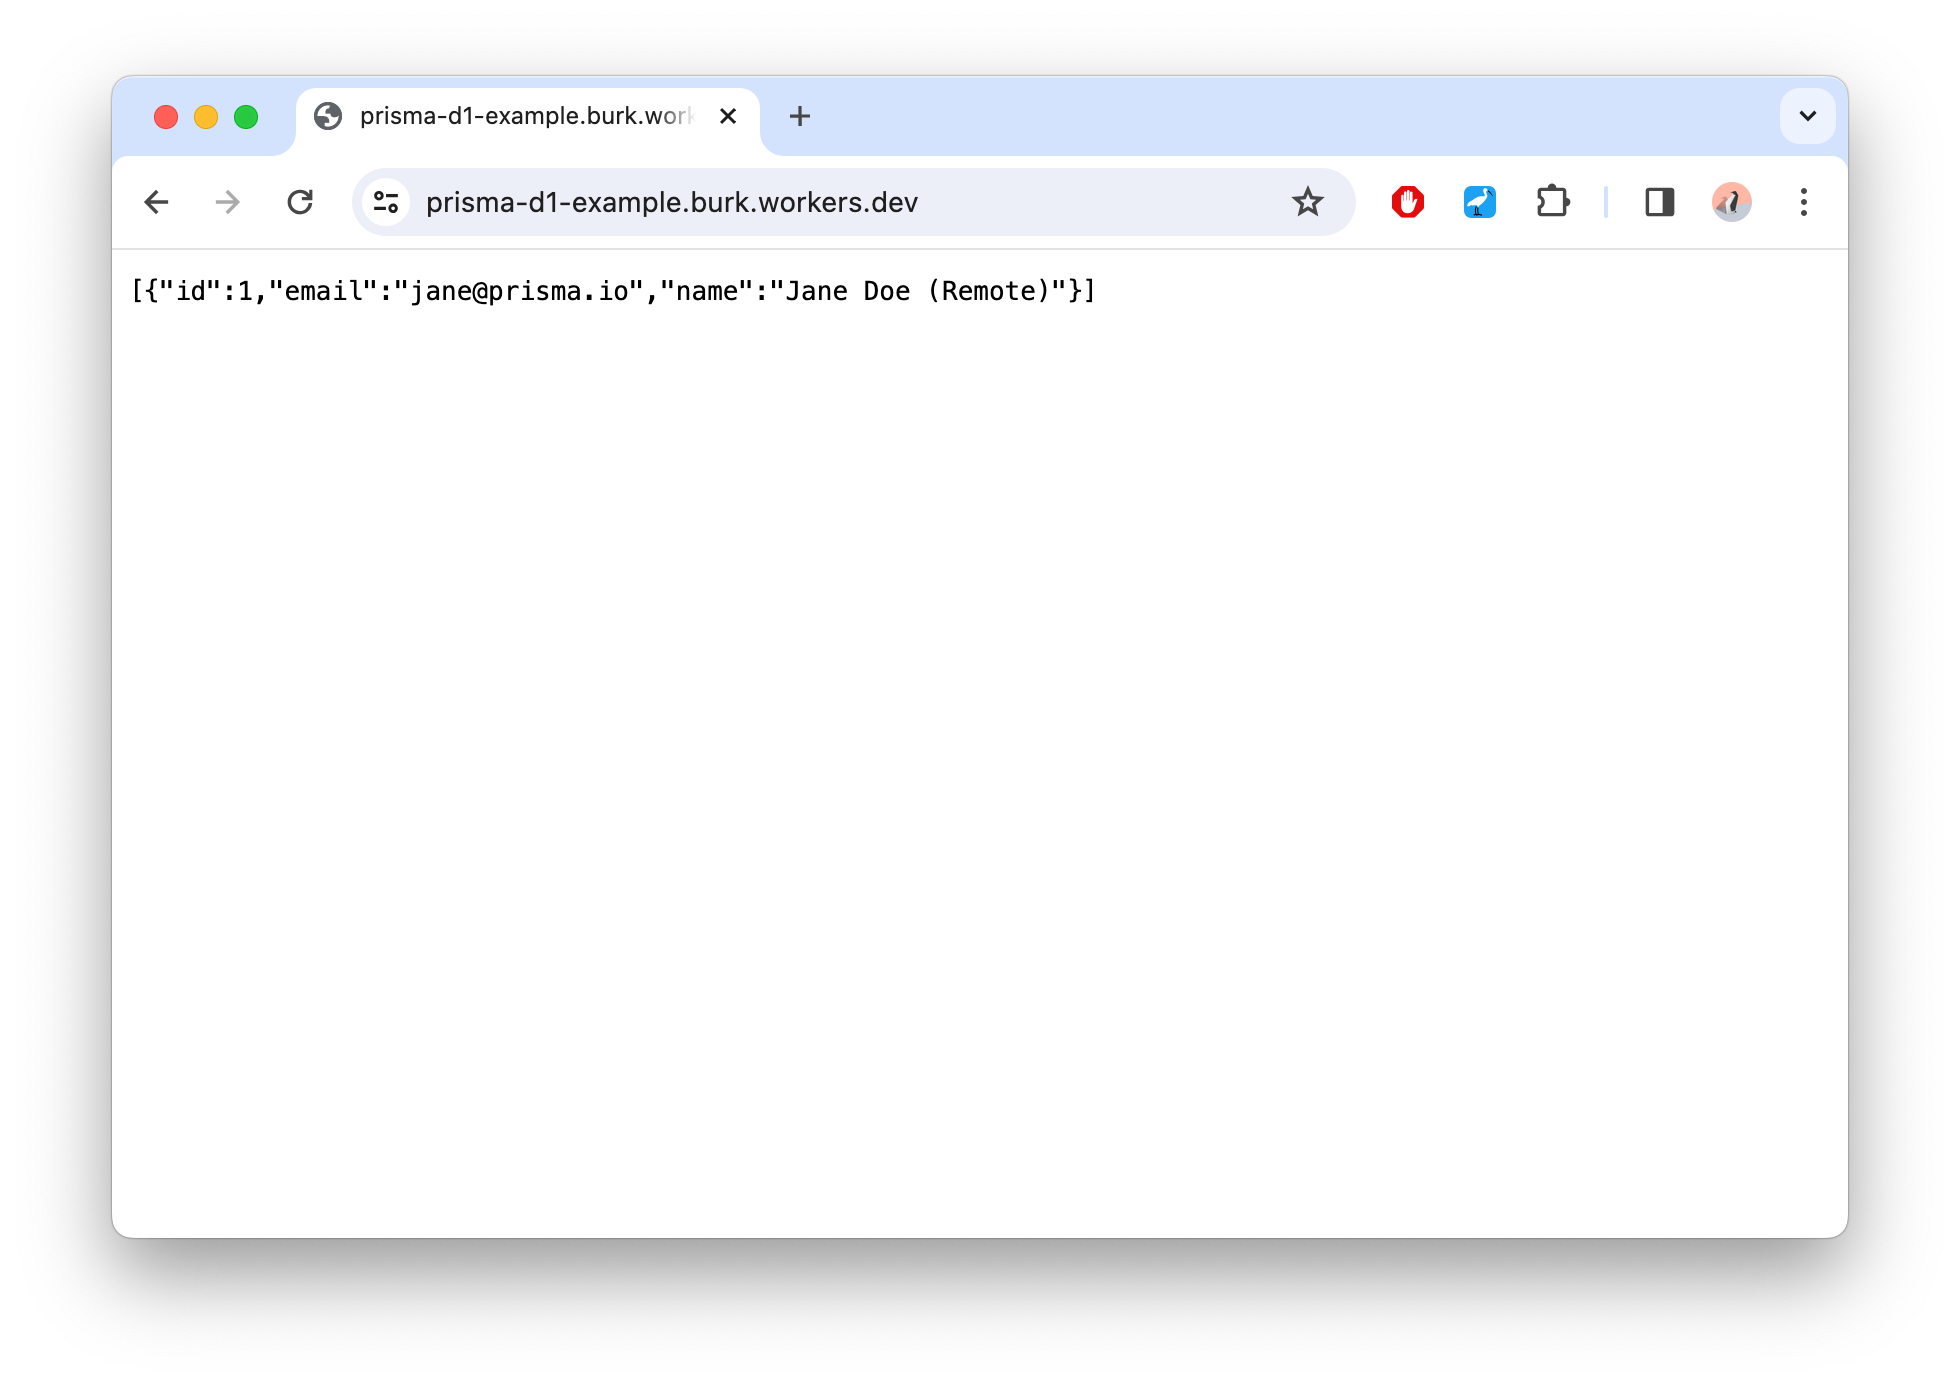
As before, your deployed Worker is accessible via https://prisma-d1-example.USERNAME.workers.dev. If you navigate your browser to that URL, you should see the following data that's queried from your remote D1 database:
Congratulations, you just deployed a Cloudflare Worker using D1 as a database and querying it via Prisma ORM 🎉
Try it out today
We would love to hear what you think of the new D1 support in Prisma ORM! Please try it out and share your feedback with us on GitHub or on Discord. Happy coding ✌️
Don’t miss the next post!
Sign up for the Prisma Newsletter