Install Prisma Client
Install and generate Prisma Client
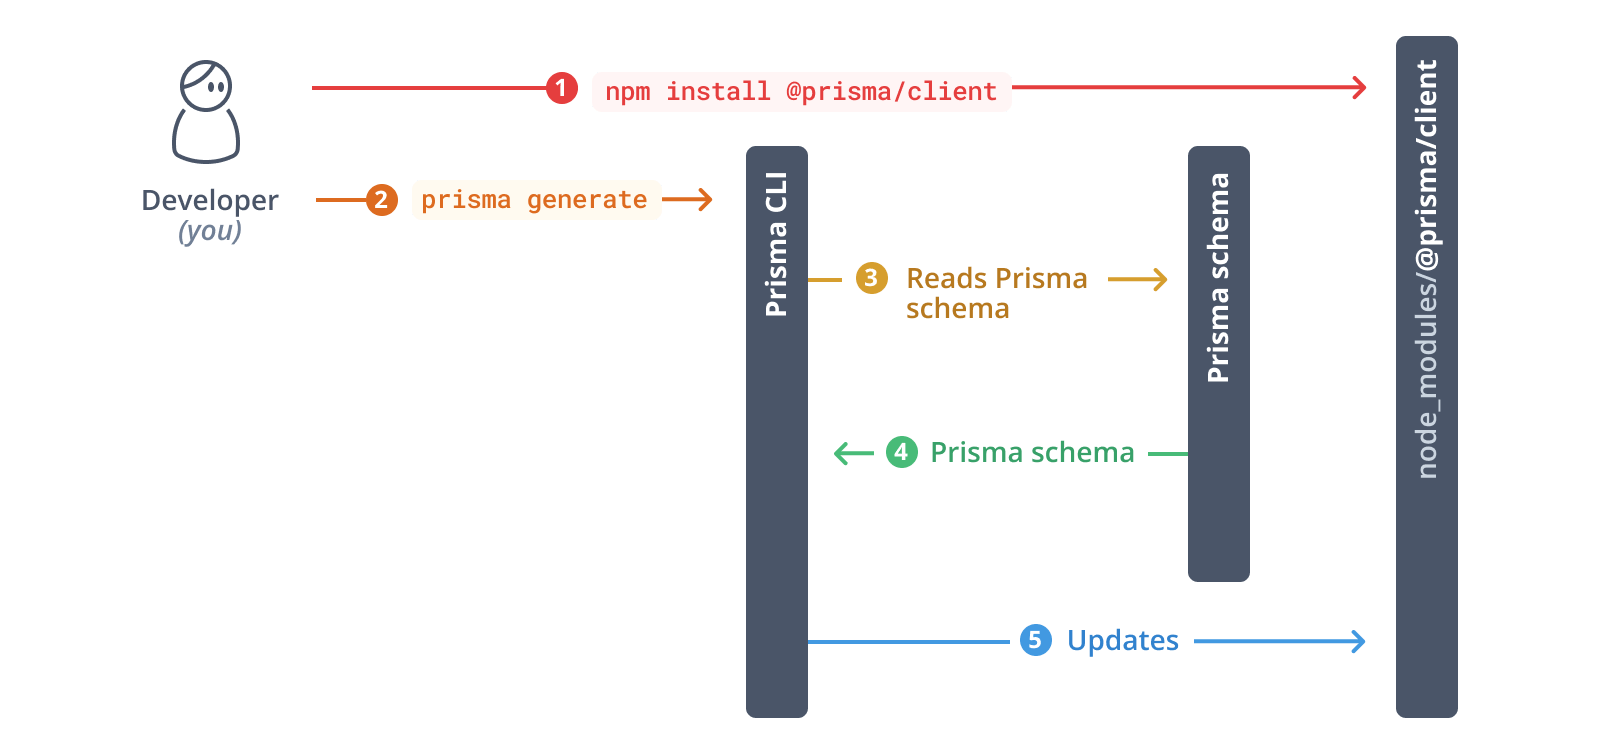
To get started with Prisma Client, first install the @prisma/client package:
npm install @prisma/client
Then, run prisma generate which reads your Prisma schema and generates the Prisma Client.
npx prisma generate
You can now import the PrismaClient constructor from the @prisma/client package to create an instance of Prisma Client to send queries to your database. You'll learn how to do that in the next section.
When you run prisma generate, you are actually creating code (TypeScript types, methods, queries, ...) that is tailored to your Prisma schema file or files in the prisma directory. This means, that whenever you make changes to your Prisma schema file, you also need to update the Prisma Client. You can do this by running the prisma generate command.
Whenever you update your Prisma schema, you will have to update your database schema using either prisma migrate dev or prisma db push. This will keep your database schema in sync with your Prisma schema. These commands will also run prisma generate under the hood to re-generate your Prisma Client.