Netlify build dependency caching workaround
Problem
If you deploy an application using Prisma ORM to Netlify, you may run into the following error message on deployment:
Prisma has detected that this project was built on Netlify, which caches dependencies.
This leads to an outdated Prisma Client because Prisma's auto-generation isn't triggered.
To fix this, make sure to run the `prisma generate` command during the build process.

Learn how: https://pris.ly/d/netlify-build
This occurs because Netlify caches the dependencies of your project until one of those dependencies changes. It does this to allow faster builds, and while this is typically a good thing, it causes some problems for Prisma Client.
Prisma ORM uses a postinstall hook to generate Prisma Client when dependencies are installed. Because Netlify uses cached modules, this postinstall hook never gets run in subsequent deployments after the initial deployment. This results in Prisma Client becoming out of sync with your database schema.
This error message prevents this situation from happening and directs you here to learn how to fix the root issue.
Prisma Client versions below 4.13.0
On Prisma Client versions lower than 4.13.0, you may encounter error messages that look like the following:
// 1: When adding a field:
Unknown arg `name` in data.name for type UserCreateInput. Did you mean `nick`?

// 2: When removing a field:
Invalid `prisma.user.create()` invocation: The column `User.name` does not exist in the current database.

// 3: When a model was removed/renamed
Invalid `prisma.user.deleteMany()` invocation: The table `public.User` does not exist in the current database.

// 4: When a model was added
Cannot read properties of undefined (reading 'create')
The solutions described in this guide are meant to solve these problems.
Solution
This issue can be solved by explicitly generating Prisma Client on every deployment. Running prisma generate before each deployment will ensure Prisma Client is up-to-date.
You can configure the deployment to run this command in multiple different ways:
A custom postinstall script
This is the preferred method as it is a universal solution.
Within the scripts section of your project's package.json file, if there is not already a script named postinstall, add one and add prisma generate` in that script:
{
  ...
  "scripts" {
    "postinstall": "prisma generate"
  }
  ...
}
The application's build script in package.json
Within the scripts section of your project's package.json file, within the build script, prepend prisma generate to the existing build command:
{
  ...
  "scripts" {
    "build": "prisma generate && <actual-build-command>"
  }
  ...
}
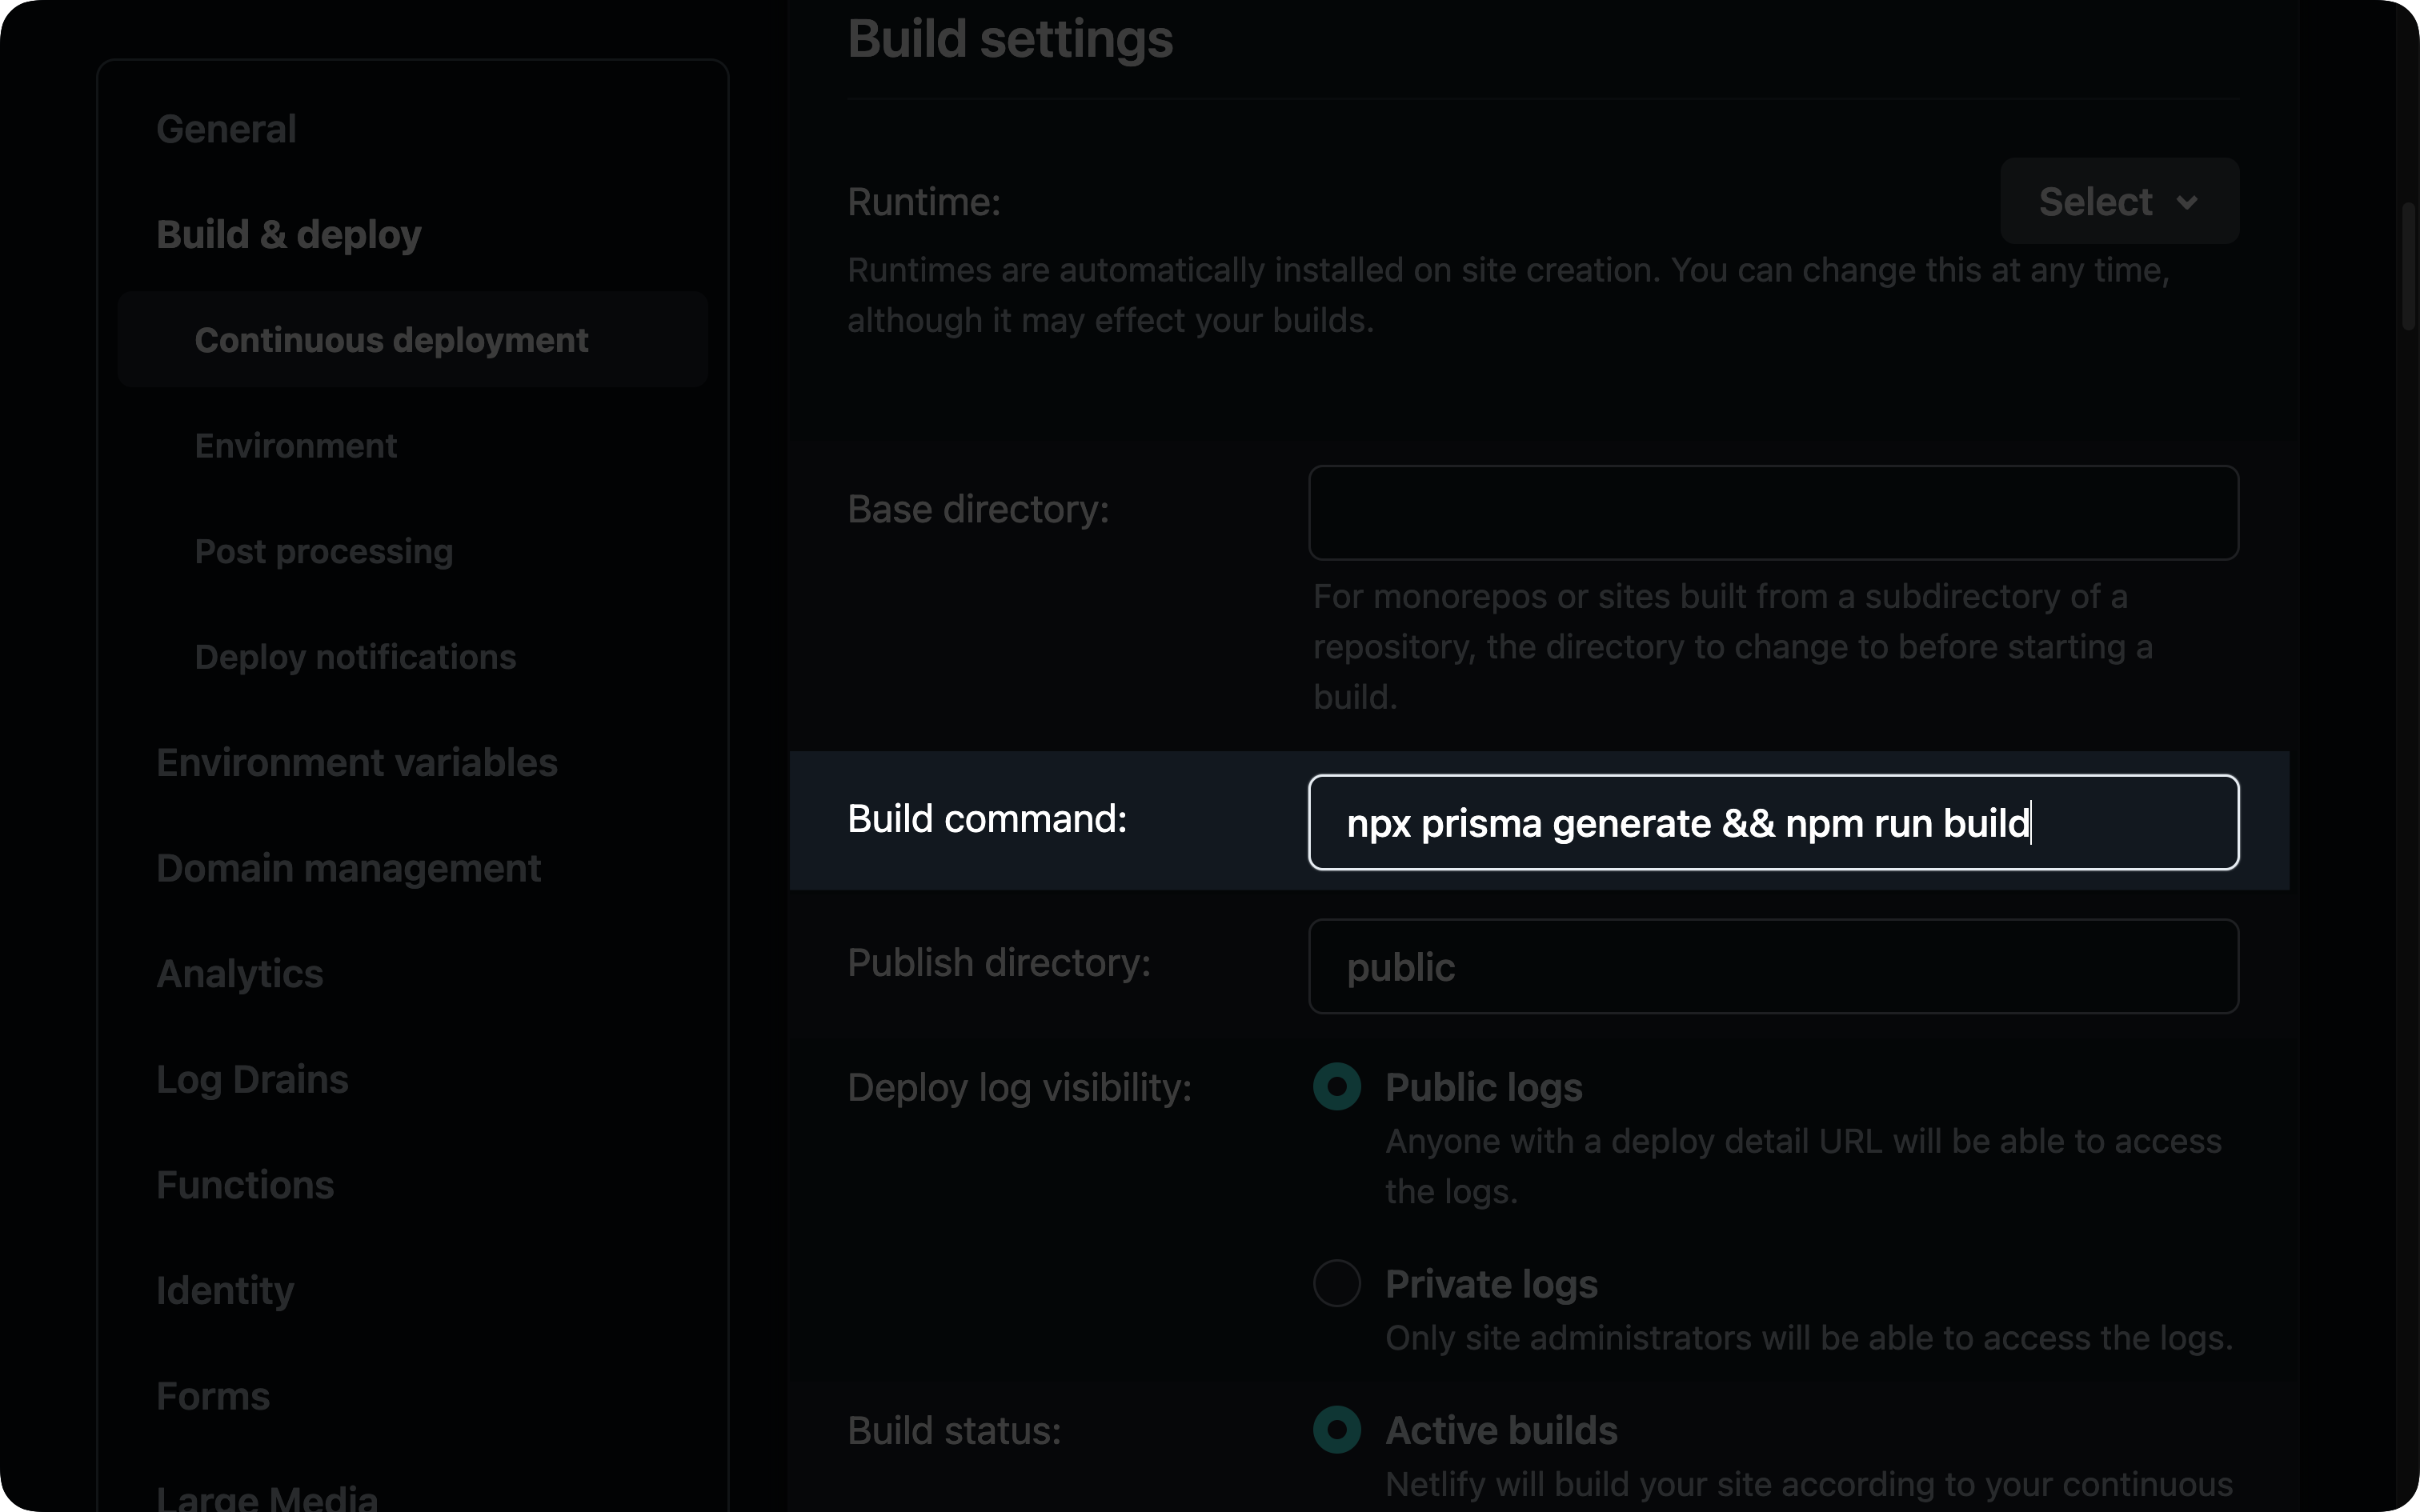
Netlify UI's build script field
Another way to configure prisma generate to be run on every deployment is to add the command to the build settings via Netlify's UI.
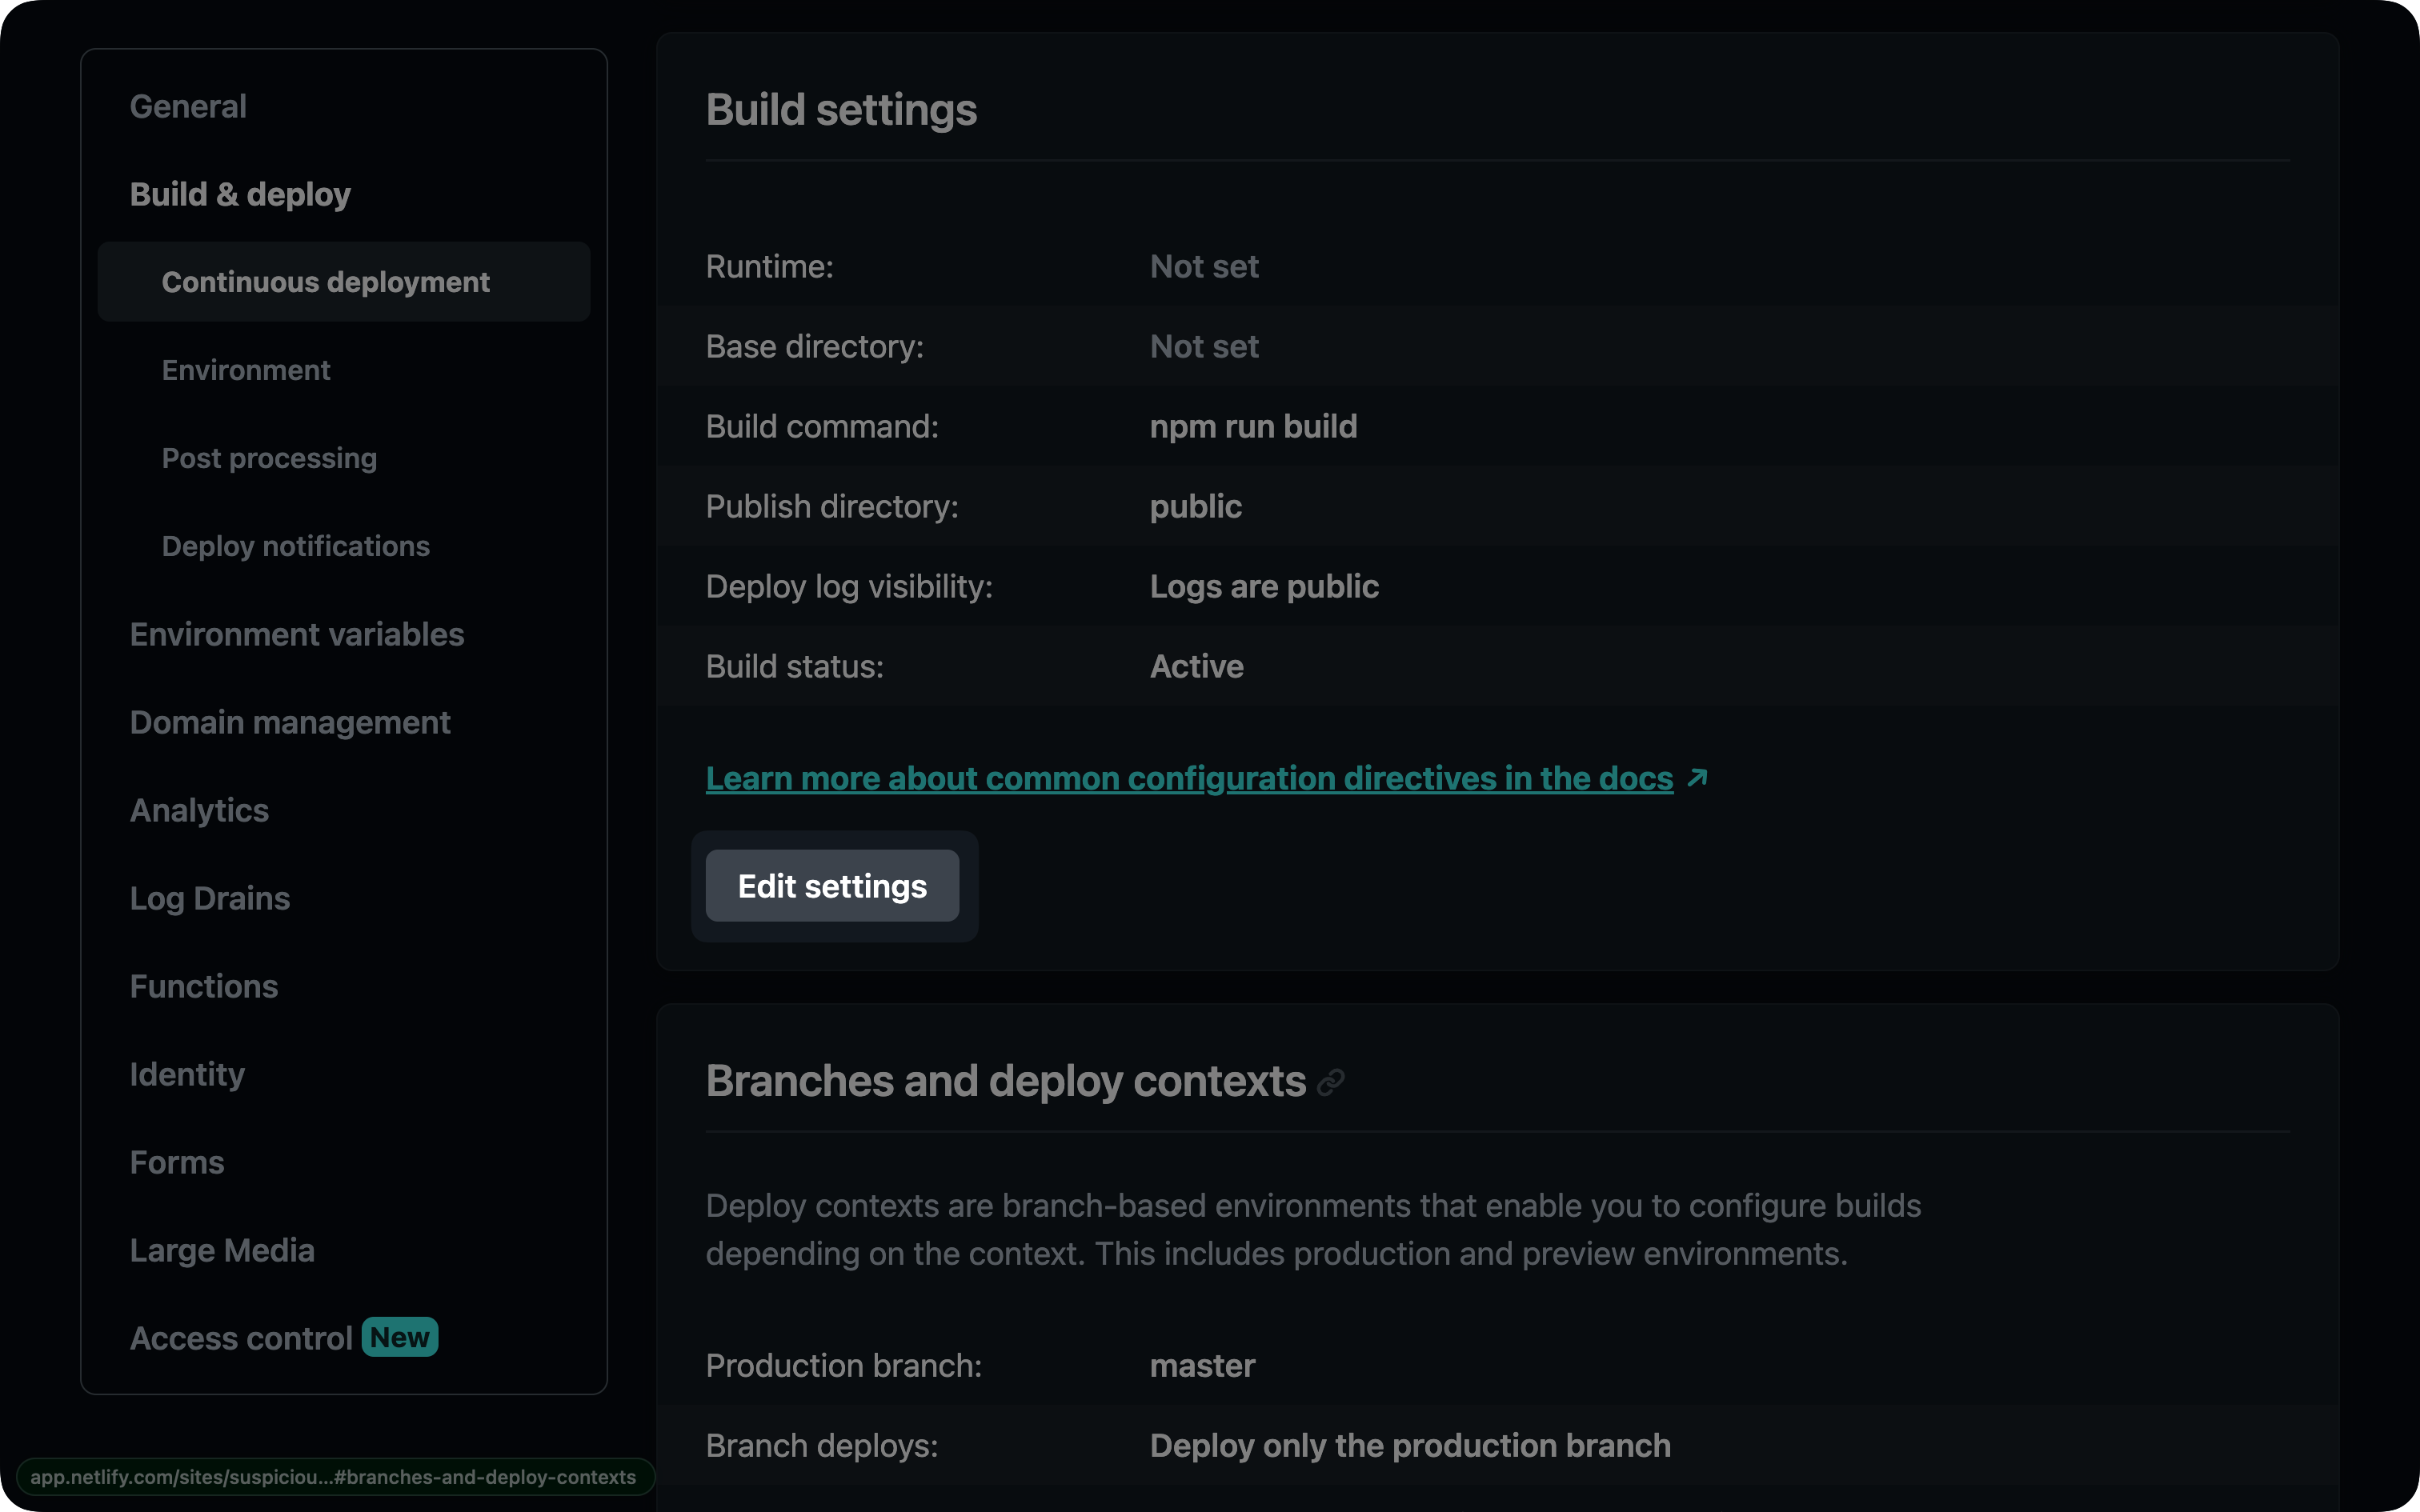
Within your project's dashboard, go to the Site Settings tab and find the Build & deploy section. In that section, enter the Continuous deployment subsection.
Find the box in that section labeled Build settings and click the Edit settings button:
Clicking that button will open a form with various fields. Find the Build command field and prepend prisma generate to the existing script: